
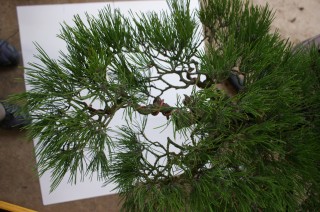
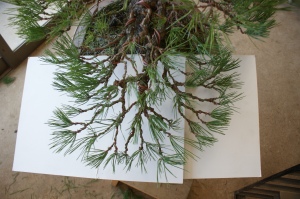
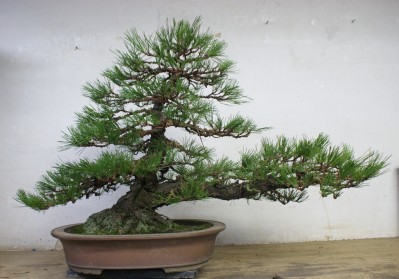
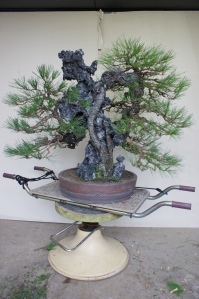
Next up in the workshop is this Japanese Black Pine tree (Pinus thunbergii). This is one of the first trees I worked on when I was here at Daijuen, in January. I was removing the old needle growth then, but today I get to style this tree. It’s always nice to revisit a tree I had worked on in my previous trip. There is a familiarity to the tree and it’s nice to see how the tree has responded to the work I had done previously.

In contrast to the mostly informal and formal upright style of the black pines at Daijuen this tree is unique. The large dominant first branch is more common in the white pines around the nursery, but suits this black pine tree nicely.
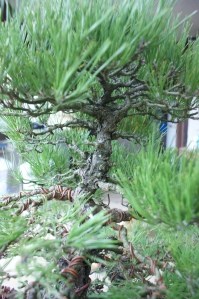
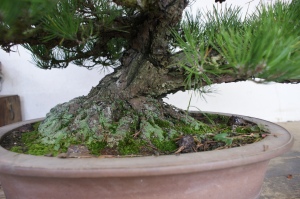
I really like this tree and its style but I know it can be improved upon. I like the nabari and how the trunk line comes up and splits off to the first branch. There is some very nice bark layers built up on this tree as well. The tree is in good health and has produced a lot of nice buds this growing season.
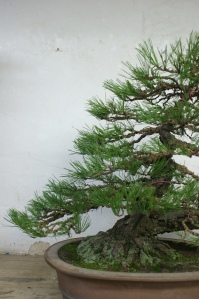
The areas in which I feel the trees need some improvements starts with the main trunk line. The trunk seems to be disconnected from the large first branch on the right and the second branch, which is on the left side of the tree. These two large branches are on opposite sides at roughly the same angel and the trunk line just splits the two sides. It makes the tree seem like it lacks depth, which it does not. Another point of concern is just below the apex where a few branches have died, exposing a very straight trunk line. I think that with a few bends on the larger branches, some pruning and a lot of refinement work this tree will have a much more cohesive feel and design. It will allow your eye to flow around the tree as you take it all in with a continuity it currently lacks.
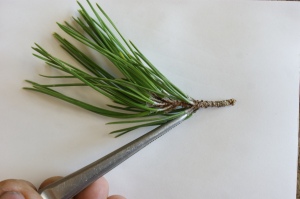
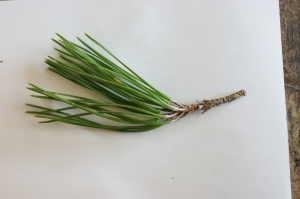
I first remove the old needles by pulling them with tweezers. The needles can also be removed by cutting them or pulling them by hand. Remember to always pull the needles in the direction they are growing, and avoid pulling them out in clusters. Pulling them either away from their normal growth or in clusters will increase your chances of tearing away some of the bark from the branch. Doing so will weaken the branch and prevent back budding in that area. While this is being done I also remove any branches that won’t fit in the design.
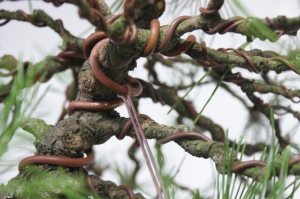
Next I start wiring the first branch but feel like it is just a little long for the tree. I decide to remove some length, making the branch more compact and connected to the main trunk.
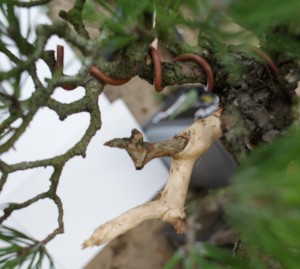
With the branch what’s left of the branch
 After branch removal, before wire New first branch with wire
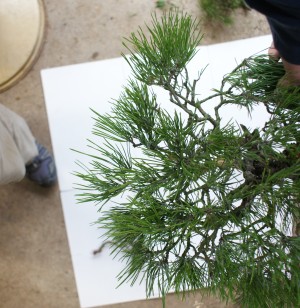
Next was the second branch, which was pulled down to mimic the trunk line and wired. You can see that now the branch and the left side of the nabari and trunk line are running more parallel to each other giving them a sense of unity.

In order to make the apex feel more in tune with the entire tree I used a guide wire to pull it down and too the right. Pulling the apex out over the first branch and keeping the branches moving up on that side really brings those two main features of the tree together and gives it direction. The downward sloping of the left side of the tree now compliments the right side motion.
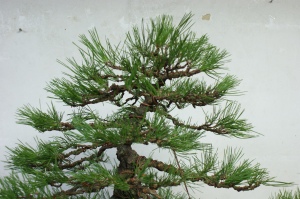

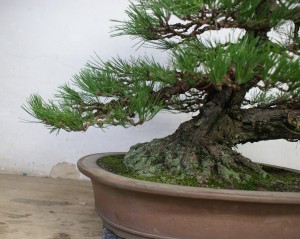
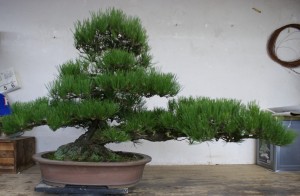
When you bring it all together, here is the finished product. I hope you agree it’s a more compact and cohesive design, in slant style.
I have recently left Japan, and am back in Maryland now. It was another amazing experience on my bonsai journey. I am so thankful for my Oyakata (Mr. Suzuki) for allowing me to continue my bonsai education with my second trip to Daijuen. I don’t want to give to much away because I am working on a number of posts one of which will be on Daijuen. I will be wrapping up of my thoughts on my apprenticeship experience, pictures of the nursery and more. I also have several other trees to post on including some stuff from the Taikan-Ten show. Here are some pictures of future post, so check back ( or click on the “follow” tab) as the adventure continues!!! Thanks so much for reading, hope you enjoyed it.
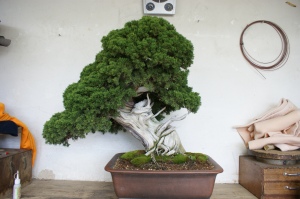
Shimpaku Show prep for Meifu-Ten
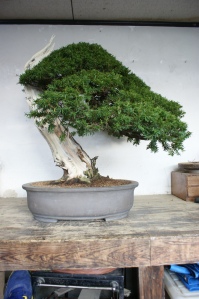
Yew, work before Taikan-Ten Twin Black Pine on a big stone
as seen in Peter Tea’s latest post. Thanks Peter!

Chris,
I continue to enjoy your posts. Good photos and interesting & informative text.
Jim
your posts are wonderfull , I’m from ny and the thought of a person of your talent and creativity so close to our area is exciting , Hope to meet you at some future event. I am curently working on Howard Sterns bonsai forest and have worked on Chiristie Brinkley bonsai as well ,and hope to cooperate in in the future on the next tree. Giacomo